Finish making all the cables. Used the big 3 foot crimper and shrink wrap the ends.

Cable Parts and Tools to make cables
Here is a view of a pair of cables before assembly with the ends stripped, 4 automotive style lugs, 4 shrink-wraps, cable cutter, hose cutter, stripper, heat gun, cable end insulators (black and red)

Two Cables made.
The two cables assembled

Using the heat gun to shrink the shrink wrap
Using the heat gun to shrink the shrink wrap
Pulling Cable
Pulling Cable
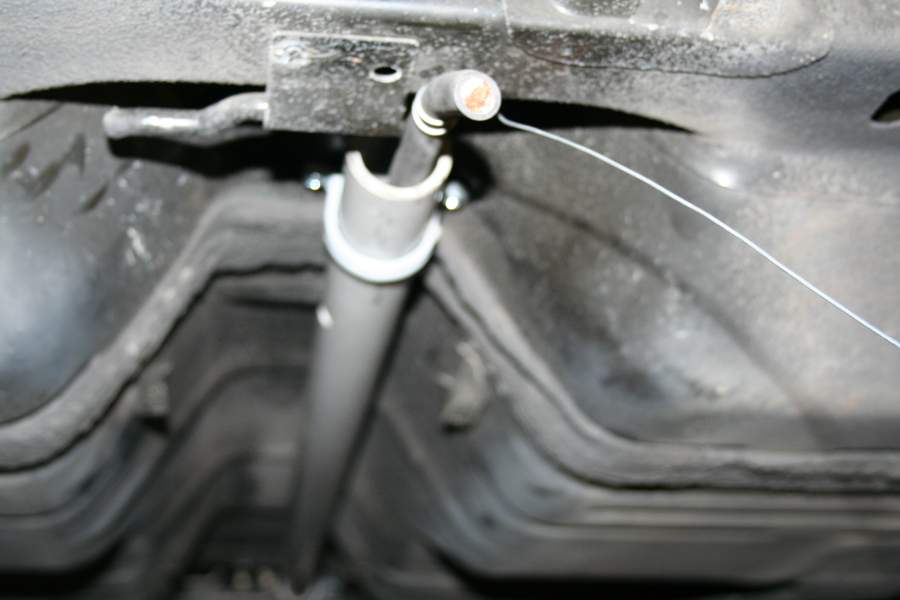
Run one main cable down the center of the car inside a protected PVC pipe and the other cable down the drivers side routed where the Fuel Line use to lie. I used most of the original clamps and holders. I added an extra cover hose where the cable ran near any sharp areas.
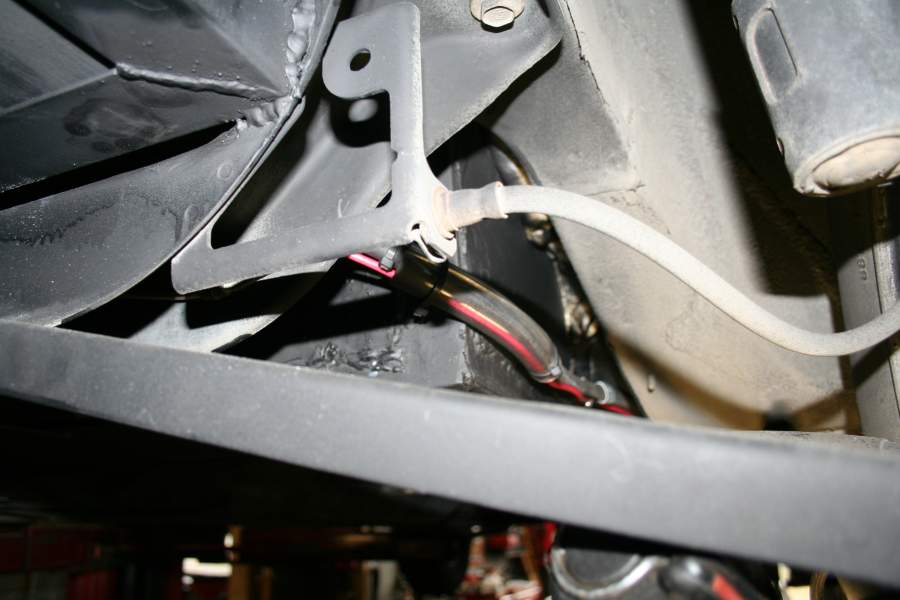
Routing Cables With Protection Sleeve
The inline fuse.
There has to be at least one in series fuse on the big 144 power pack. I was going to install it in the control board but was running out of room under the hood. It is recommended by some experts to have one fuse with every battery box. I guess the reasoning is a possible bad fuse would not blow when it should and so with 2 one will protect the circuit. The other reason would be if you had a short, lets say, between battery #5 positive and battery #12 negative and the fuse was between #12 and #13 batteries it would not protect at all.
Ended up I placed the fuse in a electrical box beside the largest battery box in the trunk.
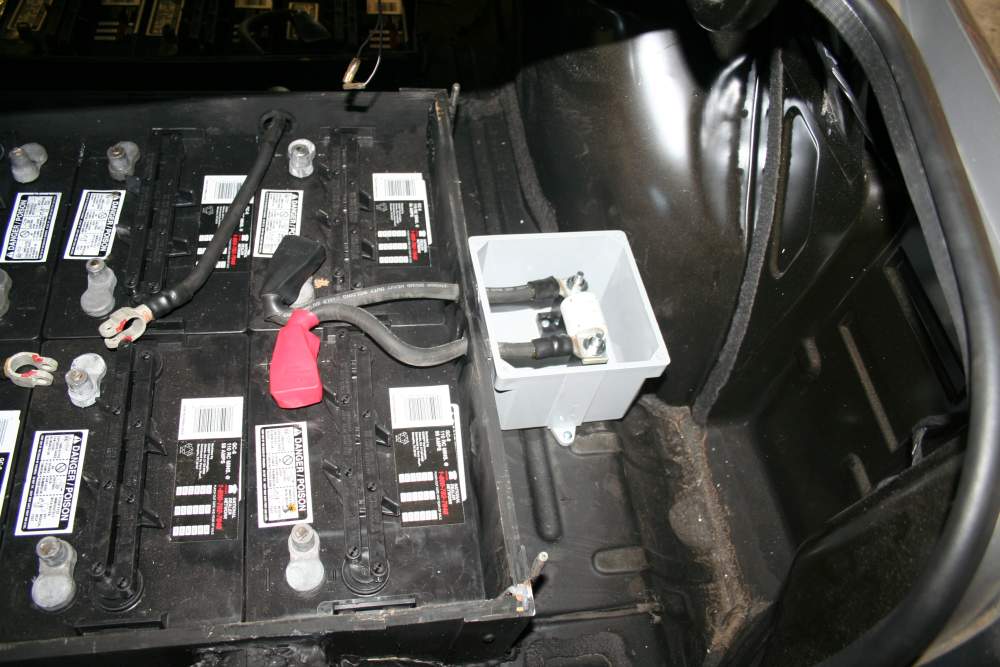
High Voltage main fuse in Location in trunk area.
Fuse Installed: Fuse Installed inside a box on the right side of the trunk.
Begin the next plans for the controller, DC-DC, contactors, Anderson disconnect etc. Start plans for the panel to locate above the motor.