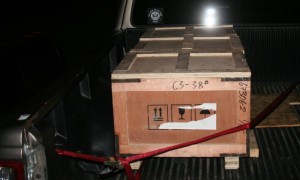
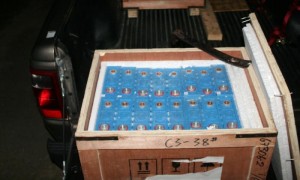
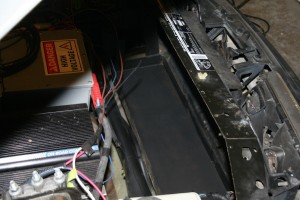
Changing over from the lead acids to Lithium in the LiFePO4 (lithium iron phosphate) format included different requirements physically.
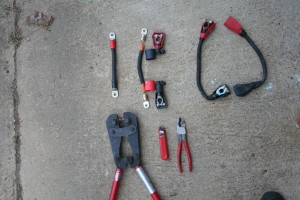
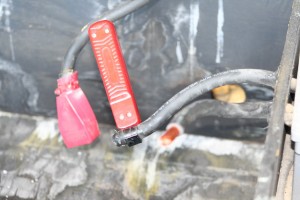
Lead acid cables verses Lithium cables: Lead acid cables verses Lithium cables shown with the tools, crimper, stripper, cutter
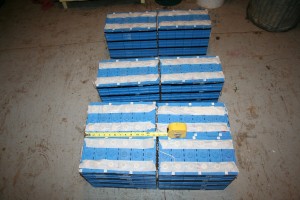
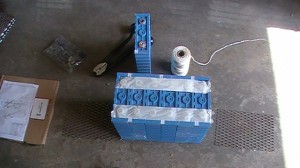
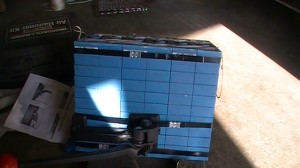
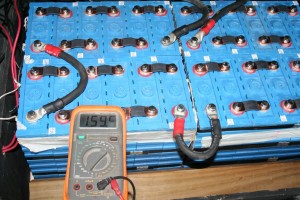
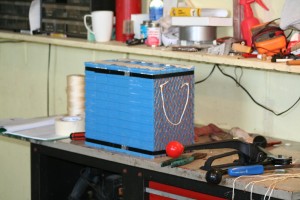
All Packs Banded: CALIB batteries banded and laid out viewed like you would be looking from the rear of the Saturn.
Cable Insulation Stripper: Application: For stripping insulation jacket on welding cable up to 4/0 GA. Configuration: Adjustable spring-loaded clamp
–Physical Differences–
* Require one third less space
* About half the weight
* Most will be strapped with copper bars which have little flex
* Batteries can swell when discharged or charged quickly and damage cell
* Banding the batteries with end plates will help with the 2 above problems
* CALIB recommends sealant on the connections
* Sand or clean oxide off battery pole contact surfaces
* Ideal temperature is 5 to 40°C
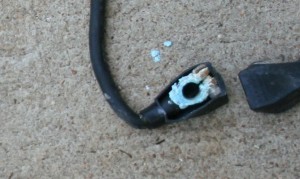
* Have to change all battery cable ends to flat lugs from top post automotive
Jim Edmonson gave me this advice about banding
“I bought an inexpensive steel strapping kit off of ebay for about
$100, I tried to find the exact one again but this is pretty close.
http://cgi.ebay.com/STEEL-STRAPPING-KIT-TOOLS-100-SEALS-STRAP-300ft-/260…
I went with steel because I saw one website where they had used a
poly bander and the banding stretched after the first charge. They
went back with steel banding an no further problems arose.
Furthermore, the groves in the sides of the batteries are a perfect
fit for the 1/2 inch steel strapping. The end plates I used were
some scrap zinc coated steel plates that came out of an old Coke
machine that I had. I think that any steel or aluminum plates from
1/16 to 1/8 inch thick will be strong enough if the batteries are
banded in 4 places. Also, make sure you attach some kind of handle
in the strapping otherwise you won’t be able to lift the battery
block very easily. I would also limit my blocks to 4-5 batteries
just to keep them easy to move around and in and out of the vehicle.
I don’t think I would use plywood or any other wood as it might
get soft or dry out and crack. I am trying to stay away from wood
in my vehicles these days. (and yes I remember my battery box in my
Jetta is wood and it is holding up very well ). Be prepared to
waste some strapping because of battery “shift” as you apply the
first band. I had to cut off a few bands as I got started. (Also
be aware that the strapping is metal and the positive and negative
terminals of the batteries are right there.) I found that it
helped to band the top, then the bottom, then the two in the middle
rather than a top down or bottom up technique. Jack uses no
strapping because his boxes are strong enough and tight enough to
keep the batteries from expanding. I had to use my existing boxes
and make the batteries fit. I had some expansion room so I had to
band my batteries. I have filled the voids in my boxes with scraps
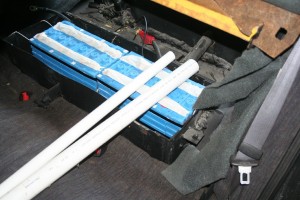
of flat 1/4 inch PVC sheets and in some places sections of 1 1/4
inch PVC pipe.”
I used a similar kit and went after banding the packs in groups of 6 because the boxes had room for 12 in a row. I tied nylon string on each endplate to assist in installing a future removing.
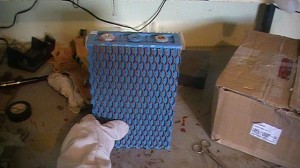
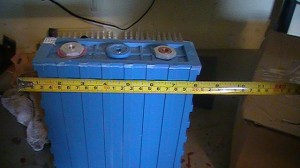
For the end plates I had some woven BBQ grill wiring never used so I cut it up on my Craftsman table saw (Dad bought in the 1970’s and still comes in very handy). Installed a composite disk and it cut beautifully. End plates were cut to just below 7′ by 10.5″. The battery dimensions are 2.25″ thick by 7.25″ wide by 11.25″ tall. Or in metric 56mm x 182mm x 278mm.
The straps worked out best if I cut them ahead of time and made a pile of 47″ straps. I used 4 steel straps per battery 6 pack. There were 8 packs of six. Each battery tested at 3.5 volts or 21 per 6 pack. When test the 6 pack voltage showed 19.5 volts. I will bring home a better voltmeter Monday. The bolts that connect the electrical straps are 8mm by 1.25 thread by 16mm long. They and the lock and flat washers are stainless steel.
