Tachometer Progress, The Needle Moves

Dave Koller is another EVer I have been in contact through email about using the original tachometer on the electric conversion job.
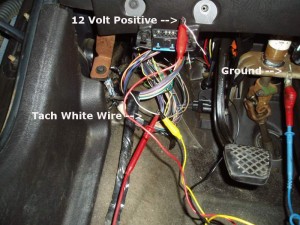
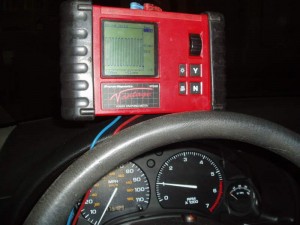
I attached the tach generator to a positive feed at the ALDL connector, ground to pedal bracket and yellow lead to the tachometer lead going into the cluster.I attached the tach generator to a positive feed at the ALDL connector, ground to pedal bracket and yellow lead to the tachometer lead going into the cluster.
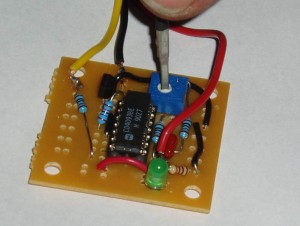
I attached the tach generator to a positive feed at the ALDL connector, ground to pedal bracket and yellow lead to the tachometer lead going into the cluster.I attached the tach generator to a positive feed at the ALDL connector, ground to pedal bracket and yellow lead to the tachometer lead going into the cluster.

Adjusting The Pot: Tach generator Dave Koller built. Adjusting the pot made the tachometer swing from 1000 RPM to 6800 RPM

Adjusting The Pot: Tach generator Dave Koller built. Adjusting the pot made the tachometer swing from 1000 RPM to 6800 RPM

Tach Chip Works

Tach Chip Works

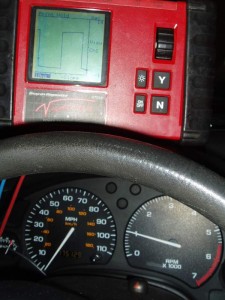
Tach Chip at 1000 RPM: 1000 RPM with the graph at 10 milliseconds

Tach Chip at 1000 RPM: 1000 RPM with the graph at 10 milliseconds

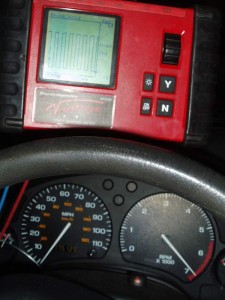
Tach Chip 6800 RPM: Voltmeter graph at 10 milliseconds

Tach Chip 6800 RPM: Voltmeter graph at 10 milliseconds

He assembled an adjustable pulse generator board for me to try out and mailed it. Tonight I tried it out with much success!

Next will be to build another board that accepts an analog trigger etc.
Leave a Reply