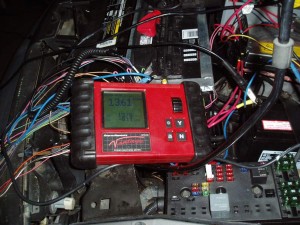
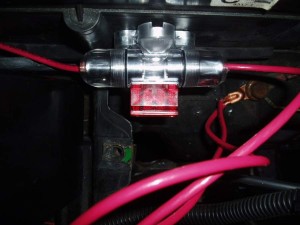
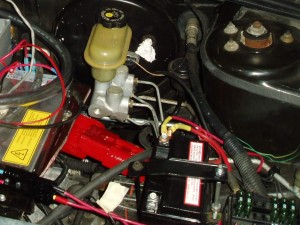
I woke up this morning at 5:50 with a energy and drive one gets if something special is in the air. I feel like before this day is over I will “smell smoke”. Smelling smoke is a auto mechanic term used after rebuilding and engine and you have it together enough to start it up. Smelling smoke might not be as appropriate a saying for an electric automobile.
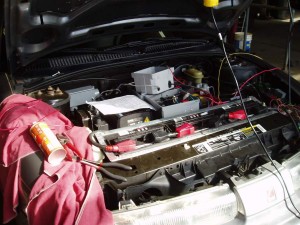 List for today:
1. Clean up area, organize parts and tools
2. Finish wiring Electric boxes and DC-DC
3. Finish half of Big Anderson SBX-350 (144 volt) that comes from battery pack
4. Make DC-DC Anderson disconnect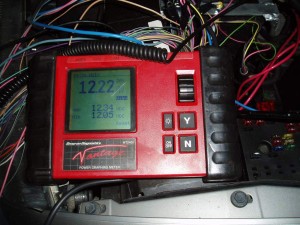
5. Install Motor screen under brush strap correctly(original screen is not on right). Unbolt front motor mount to access strap.
6. Order more shrink tubing for big cables
7. Install last 3, 8 volt batteries and hold-down.
8. Cable up last 3, 8 volt batteries.
9. Wire up Quick Charger one to the positive of the most positive battery and other to the negative of the most negative battery.
10. Install 12 battery.
11. Find a 50 amp fuse and holder.
12. Remove unneeded original under-hood wiring.
13. Test Charger
14. Cipher out what still needs positive 12 volt feeds and what still needs negative.
15. Try out motor in the air.
16. Test the DC-DC
17. Test contactors
16. Test Drive!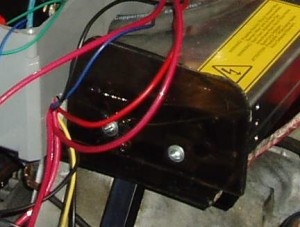
Well all the above were finished by 10 pm this night with some exceptions or changes.
To finish some cables I used a shrink cold wrap on 4 lug ends because I could not come up with tubing.
On the 50 amp fuse and holder I bought one and mounted it on the side of the original fuse box. I took apart the original fuse box but there is no good way to wire into one of the unused maxifuses (like fuel pump, or Air conditioning) and besides the wiring is thin.
On the 12 volt
battery I opted not to use the original size and installed a motorcycle battery to get more room especially so I could plug and unplug the big Anderson disconnect. This disconnect is an extra safety when working on the motor or panel.
