This weekend I install the motor and begin making the 2 mounts. 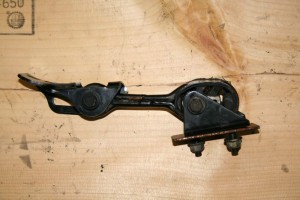 The motor & transmission assembly had 4 mounts. Two of the four are regular rubber mounts and the other two are strut bars or torque bars. The top of the engine had a standard mount and the bottom under the oil pan had a torque bar. Now on the transmission it had the torque bar on top of it and the weight bearing mount under it.
 Align Motor
So I used the original transmission mounts and had to make the motor mounts using what parts I could from the leftovers.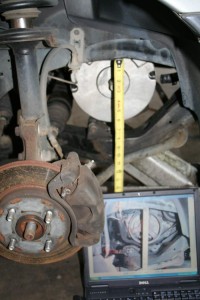 Transmission Lower Mount
The upper mount was used over with lots of angle iron and MIG welding wire.
I made a motor strap with a piece of 2″ flat bent around the 9.1″ motor bolted in ONE place with a 1/2 diameter bolt into the only hole in the center area. I welded that strap to the upper mount frame to beef both.
This strap is needed because the lower torque mount and the axle mount have to be located in this area and need something to be welded to.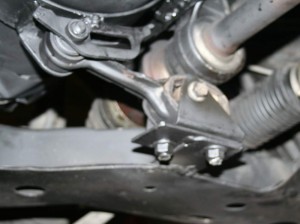
When fabricating the main engine mount I aligned the motor in the same position as the engine was so the axles etc would be spinning at the same angle as before.
I took the “before” pictures to setup the after positions.
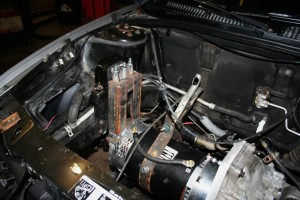 Align Engine
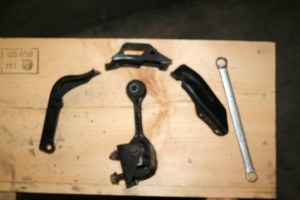
The lower torque mount was made from the old mount and brackets cut and pieced back together. See pictures
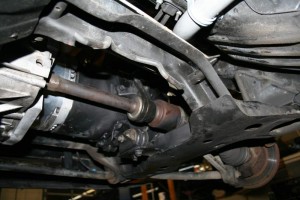 Mount Parts, Engine Lower
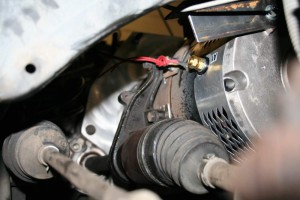
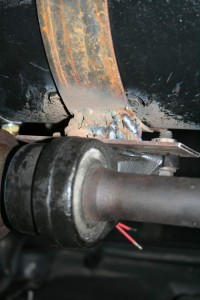
The right axle center bearing housing took a few hours of fabricating, making the three threaded nuts on the bracket to bolt up to.
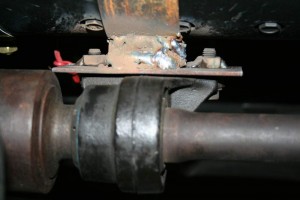 Mount For Center Carrier Right Axle 2
When all the aligning, fabricating, welding was done I soaked her down with black paint and repainted her the next day.
Went home tonight satisfied I got a lot done, it was a good day.