Install Saturn Splash Shield, Made From Plastic Gas Tank
When ever something has to 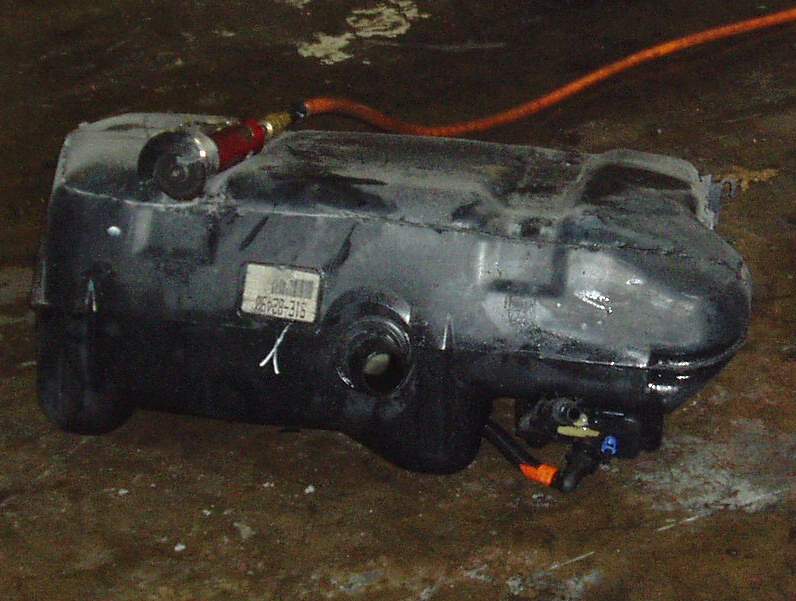 be added and fabricated like a splash shield to keep road water off the electric motor and electronic I try and recycle something that came off the original discarded parts. How about the fuel tank? The plastic tank is very thick, tough material.
So I used my air powered cutting disc and sawed off the bottom of the gas tank. The inside of the tank is a whitish plastic and the outside is black. The dimensions of the removed part is 28″ by 18 to 22″ by 1/4 inch thick.
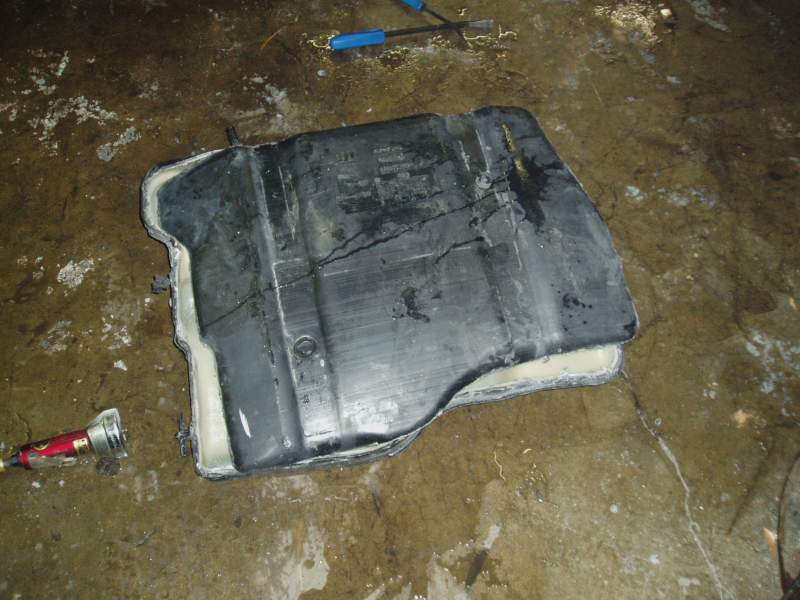
Gas Tank Cut In Two
I cut another piece off the side of the tank to extend the shield towards the drivers side so I could attach the left rear side of the shield to something. Bolted the two parts together with left over 6 mm bolts and nuts.
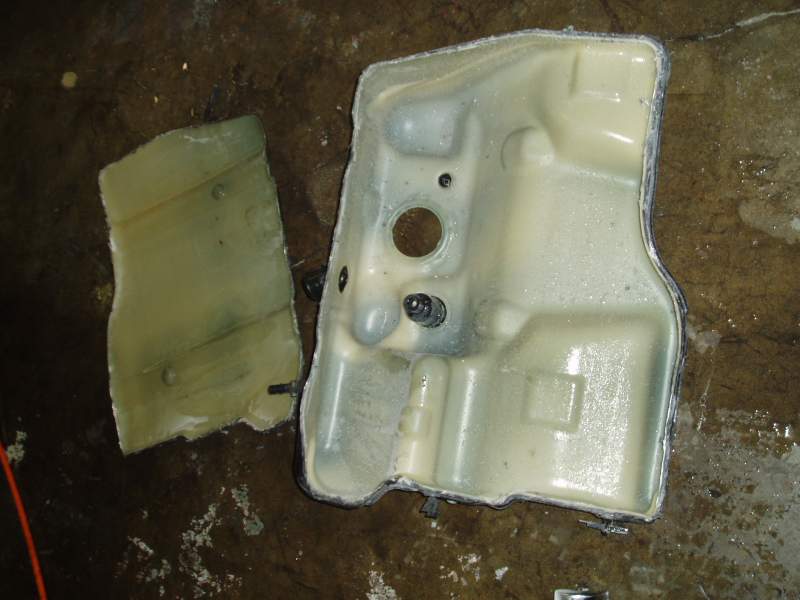
Fuel Tank in Two Pieces
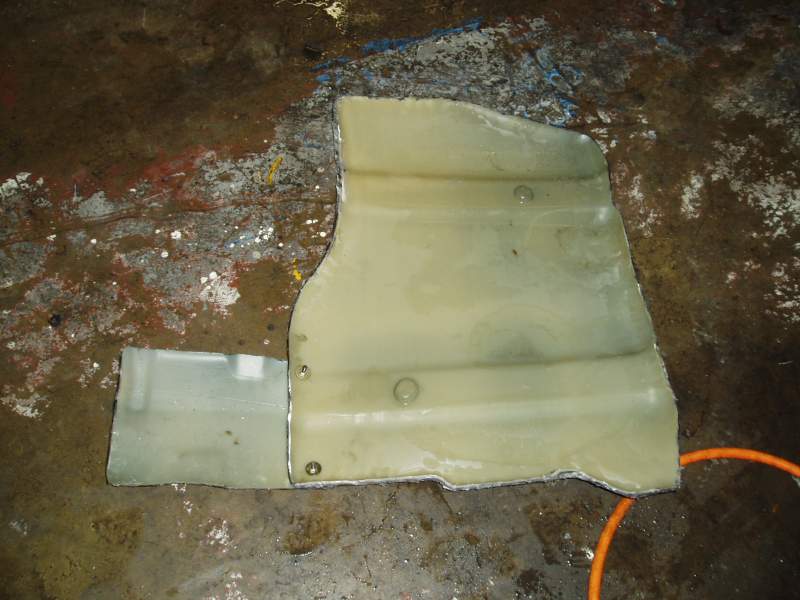
Shield, Two Pieces Of Fuel Tank Bolted Together
I attached the front of the shield with 6 mm bolts and nut to the front lower bumper guard.
 Shield Attachment Point, Welded Nut
I welded two 6 mm nuts to 2 larger nuts then welded the larger nuts to the frame. The purpose of the larger nuts were; to allow the bolt that goes through the shield and into the 6 mm nut, space to tread into instead of hitting the frame right off.
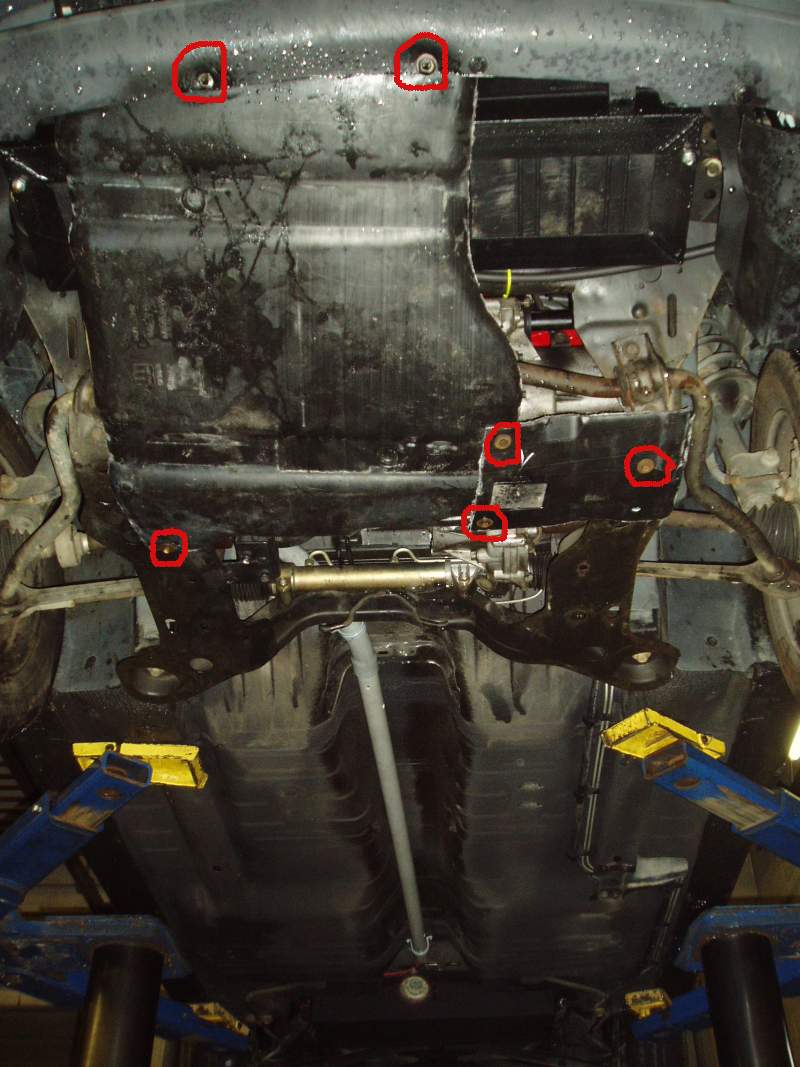
Shield Installed – Attaching bolts marked